All Categories
Featured
Table of Contents
The 10-Minute Rule for Devanti Electric Radiant Heater Patio Strip Heaters Infrared ...
A handful of exterior heaters are fitted with incorporated heating controls, such as a warmth dimmer switch or a dial to switch over between warm settings. Regardless of their name, these heating units are typically developed entirely for usage in interior or protected locations.

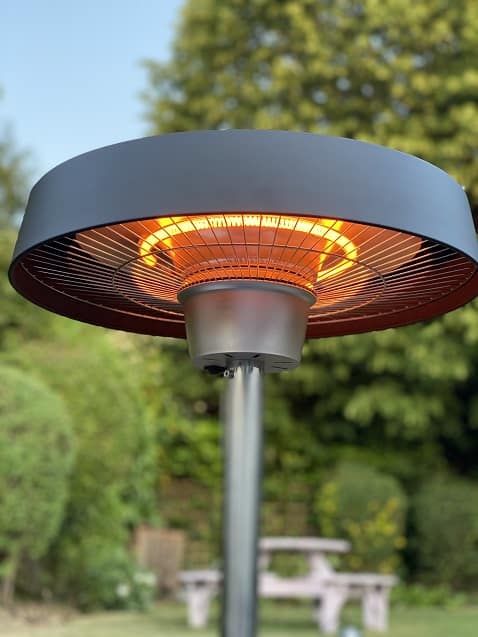
Delight in balmy outdoor enjoyable all year long from a crisp fall evening to the coldest of winter season evenings. Despite exactly how big or small your outdoor entertaining area we have actually obtained the perfect outdoor area heating system to maintain your visitors cozy warm and maintain the celebration going longer.
For wall surface placing, the most affordable component of the heater need to be located at or over a minimum height of 1. 8m from ground degree, so that the heating system can not be touched when in procedure. Always install flat and do not position the heating unit at an angle of greater than 90 as well as much less than 45 The heating unit must constantly have a minimal clearance of 0.
Not known Details About Best Outdoor Electric Patio Heaters For 2023
The heating unit must be mounted on the mounting braces provided. Attach the heating system firmly on the brackets utilizing the nuts as well as screws provided. The brackets can be used to adjust the instructions of the heating unit. Adjust the heating unit angle by loosening up both bolts on the wall mounting brace. Tighten the screws again when the preferred angle is gotten to.
Table of Contents
Latest Posts
How How To Season A New Bbq Plate: The Essential Guide can Save You Time, Stress, and Money.
More About 6 Best Outdoor Heaters To Shop In Australia 2023
What Does Soga 2x 45cm Rectangular Cast Iron Portable Fry Bbq Mean?
More
Latest Posts
How How To Season A New Bbq Plate: The Essential Guide can Save You Time, Stress, and Money.
More About 6 Best Outdoor Heaters To Shop In Australia 2023
What Does Soga 2x 45cm Rectangular Cast Iron Portable Fry Bbq Mean?